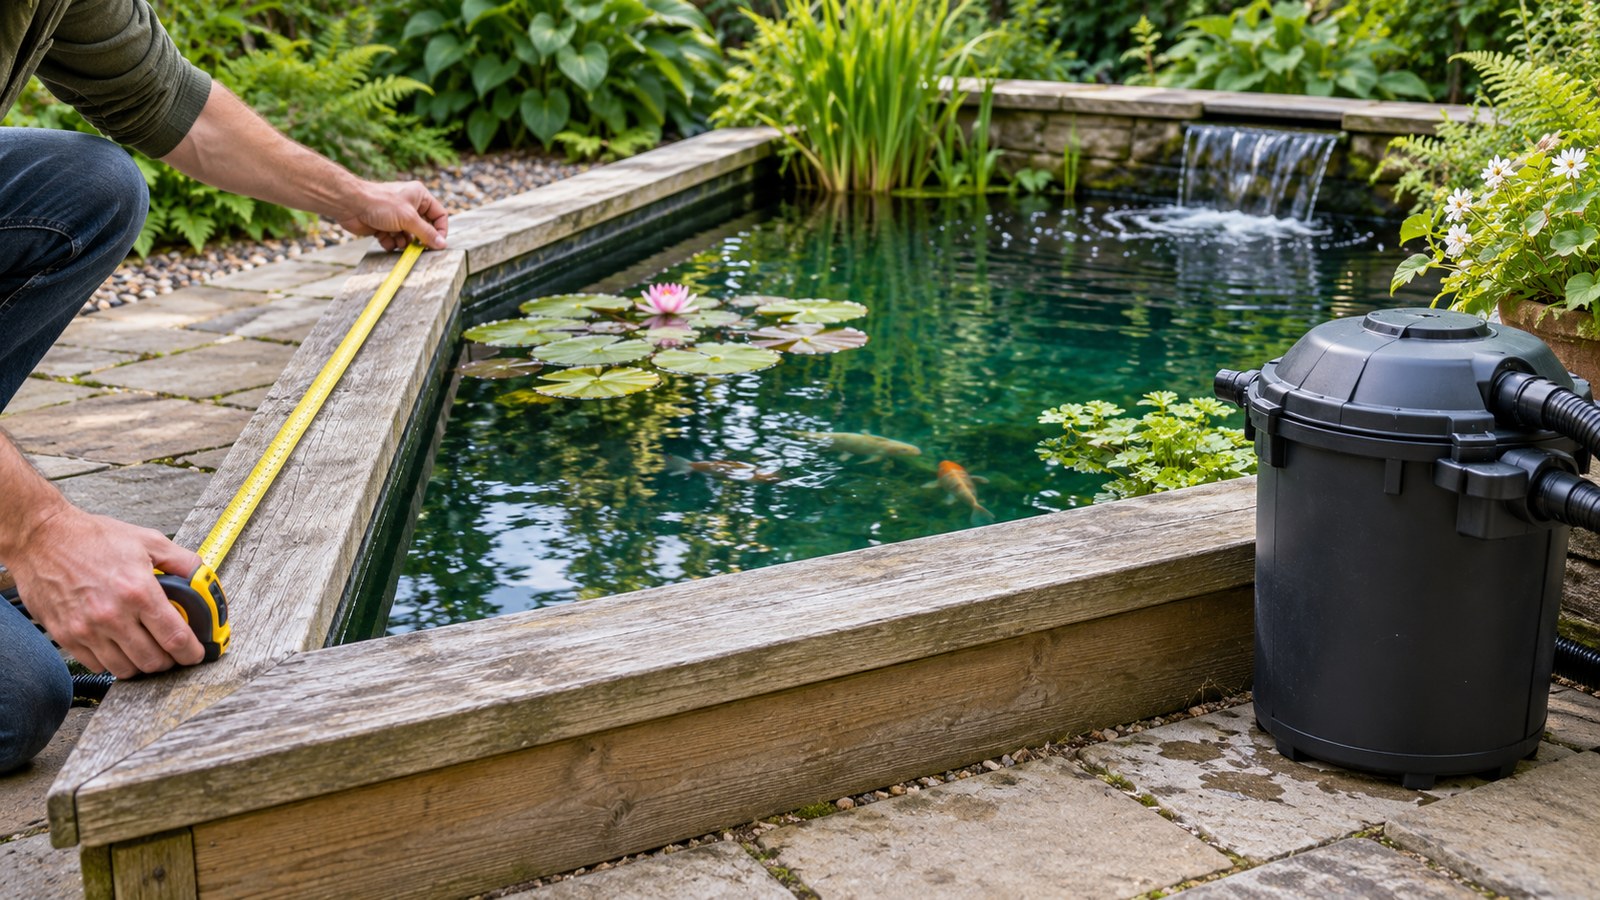
To size a pond filter, first establish the pond's actual water volume, then use the manufacturer's rating for the intended fish load, and finally check the flow delivered through the installed system. Pond capacity and filter flow are separate checks. Passing one does not mean the other is satisfied.
Avoid a universal shortcut such as “always buy double the pond volume.” Manufacturer ratings, fish loads, and layouts differ. A useful sizing decision produces a written set of requirements that can be compared against an exact model and its manual.
This guide uses US gallons unless otherwise stated. Calculations are illustrative planning examples, not a stocking prescription or a model-specific installation design. Featured artwork is an AI-generated illustration.
On this page
- The information you need before shopping
- Step 1: estimate the actual water volume
- Step 2: use the appropriate fish-load rating
- Step 3: establish a justified circulation target
- Step 4: check actual pump output at installed head
- Step 5: verify the filter and UV operating limits
- A worked comparison without a universal oversizing rule
- Step 6: design the cleaning and service area
- Step 7: confirm the selection in writing
- Check the installation after it starts running
- Common sizing mistakes
- Frequently asked questions
- Your final sizing checklist
The information you need before shopping
| Information | Why it matters | Where to get it |
|---|---|---|
| Actual pond volume | Establishes the amount of water in the system | Internal dimensions, average depth, or measured fill |
| Current and expected fish load | Changes biological and solids-removal requirements | Fish inventory, growth plans, and feeding pattern |
| Installed flow | Determines water passing through the filter | Pump curve at estimated head; suitable measurement after installation |
| Filter's operating requirements | Prevents incorrect equipment pairing | Exact model manual and manufacturer guidance |
| Return arrangement | Determines whether pressure or gravity return is feasible | Site measurements and system drawing |
| Service access | Determines whether routine maintenance is practical | Proposed location and cleaning procedure |
If you do not keep fish and are still considering whether powered filtration is necessary, read does a pond need a filter? first. Buying equipment before defining the pond's purpose can create expense without a clear benefit.
Step 1: estimate the actual water volume
Measure the space occupied by water, not the outside of a raised pond or the full excavation. Shelves, sloping walls, stones, and features can make the actual volume different from a simple rectangular calculation.
For a pond of nearly constant depth, use the internal length, width, and water depth. For an irregular pond, divide it into manageable sections and estimate each section separately. Keep a note of the method so the number can be reviewed later.
Rectangular pond in feet
US gallons = length × width × average water depth × 7.48052.
A pond measuring 10 feet by 6 feet with an average water depth of 2 feet contains approximately:
10 × 6 × 2 × 7.48052 = 897.66 US gallons, or about 898 gallons.
The average depth matters. Using a 3-foot deepest point for the entire pond would produce approximately 1,347 gallons, about 50% more than the 2-foot-average example. That error would affect not only filter shopping but any decision that depends on volume.
Circular pond in feet
US gallons = π × radius² × average water depth × 7.48052.
For a circular pond with an internal diameter of 8 feet and an average depth of 2 feet, the radius is 4 feet:
π × 4² × 2 × 7.48052 ≈ 752 US gallons.
Use the water dimensions. If the pond walls taper or the bottom is not flat, this is an estimate rather than an exact filled volume. Break the pond into depth zones when that gives a more realistic result.
Metric calculation
Liters = length in meters × width in meters × average depth in meters × 1,000.
A rectangular pond 3 meters long, 2 meters wide, and 0.6 meters deep holds approximately 3,600 liters. Dividing by 3.78541 gives approximately 951 US gallons.
Do not confuse US and imperial gallons. One US gallon is about 3.785 liters; one imperial gallon is about 4.546 liters. A regional product page using a different unit can look inconsistent even when it describes the same physical volume.
Measured fill and irregular ponds
A reliable water-meter record during filling can be more useful than rough geometry. Record the difference between the start and finish readings, account for unrelated water use, and state the unit. A pump label or hose diameter does not establish how much water has been added.
If the estimate remains uncertain, retain a realistic range. “Approximately 900–1,050 gallons because of the shelves” is more useful than an unexplained, falsely precise figure. For a close equipment decision, refine the estimate or obtain advice rather than quietly choosing its lowest end.
Step 2: use the appropriate fish-load rating
Find out what the manufacturer's pond-capacity figure describes. Is it for a lightly stocked water garden, general fish stocking, or koi? Does the rating depend on a particular pump, UV unit, feeding level, or system configuration?
For example, the current US Oase BioSmart 5000 table distinguishes a maximum general pond rating of 5,000 gallons, a fish rating of 2,500 gallons, and a koi rating of 1,250 gallons. The model name cannot replace that distinction. The same page has conflicting flow-unit entries, so obtain a verified regional flow limit before pairing a pump.
These categories are manufacturer guidance, not a universal stocking formula. Do not assign a fixed number of koi to a pond simply because its volume falls below a listed limit. Fish size, feeding, oxygen, and the complete filtration arrangement still matter.
Plan for realistic growth. If the long-term intention is a larger fish population, tell the supplier that when seeking a recommendation. A system selected only for today's smallest fish may create a foreseeable replacement cost.
Write the requirement in plain language: “approximately 1,000 US gallons, intended for these fish at their expected mature size, with this feeding pattern.” That is more useful than asking whether a filter is “good for 1,000 gallons.”
Step 3: establish a justified circulation target
Turnover expresses how long it takes for a volume equal to the pond's volume to pass through a route. It does not mean every part of the pond is perfectly treated during that period. Water can take uneven paths, and dead areas can remain despite an impressive calculated turnover.
The arithmetic is:
Required flow = pond volume ÷ selected turnover time in hours.
For a hypothetical 1,000-gallon pond, a selected one-hour turnover gives 1,000 GPH. A selected two-hour turnover gives 500 GPH. Those calculations show how the relationship works; they do not establish which target is suitable for your pond.
Use the intended system design and manufacturer guidance to select a target. Do not choose one hour solely because it is a commonly repeated rule. A koi system, an integrated water-garden unit, and a separate UV branch may have different operating requirements.
Also identify which water route you are discussing. If a pump serves both a fountain branch and a filter branch, the total pump output is not the flow through the filter. Record each relevant branch separately.
Step 4: check actual pump output at installed head
A pump's maximum advertised flow is usually not its flow after installation. The pump must work against elevation and hydraulic resistance. Tubing, bends, valves, and equipment influence the resulting output.
Use the pump curve or manufacturer chart for the expected installation. Oase's pump-selection guide explains the relationship between required flow, vertical head, friction, and total dynamic head. Use equipment-specific pressure-loss information where available; do not assume the filter adds no resistance.
For a submersible pump feeding a raised return, vertical lift is related to the return's height above the pond water surface, not simply how far below the surface the pump sits. A sketch with elevations helps avoid mixing those measurements.
Suppose a hypothetical pump advertised at 1,800 GPH is documented to deliver 1,050 GPH at the calculated system head. For sizing that installation, use the 1,050-GPH estimate. If you later measure a materially different result, investigate the estimate and installation rather than insisting the advertised maximum must be correct.
If you do not have a curve or usable flow chart, ask for one. Comparing pumps solely by their largest flow figure removes the information needed to pair them intelligently with a filter.
Step 5: verify the filter and UV operating limits
Look for maximum flow, any recommended minimum or operating range, allowable pressure, connection sizes, and return requirements. Each figure has a purpose. A maximum is a limit; it is not automatically the ideal operating point.
A UV stage also needs an appropriate flow for its intended function. Do not assume that every flow accepted by the mechanical filter is suitable for a separate UV unit. Follow the exact clarifier's guidance and avoid borrowing specifications from a larger variant.
The manufacturer should also clarify how to interpret a recommended pump range. A pump's nameplate flow and the installed flow are different values. Ask about the proposed layout when there is uncertainty instead of guessing which figure a table intends.
When two requirements conflict, change the design. Do not force all the water through a smaller stage simply because its fittings can be connected. A documented bypass or separate circuit may be appropriate in some systems, but it must be designed around the specific equipment.
A worked comparison without a universal oversizing rule
Consider a hypothetical pond estimated at 1,000 US gallons, with regularly fed ornamental fish and a return above water level. The owner has selected a justified 1,000-GPH installed-flow target after reviewing the intended system guidance.
| Check | Candidate A | Candidate B |
|---|---|---|
| Published relevant fish-load capacity | 800 gallons | 1,500 gallons |
| Documented installed-flow compatibility | Suitable for 1,000 GPH | Suitable for 1,000 GPH |
| Return architecture | Fits proposed pressure return | Fits proposed pressure return |
| Access | Adequate | Adequate |
| Initial screening result | Capacity is below the estimated pond volume | Worth further verification |
These are invented candidates for explaining the process, not actual products. Candidate B passes the initial volume and flow screen, but the owner still needs to verify how the stated fish-load rating relates to the intended fish and feeding. Passing a screen is not proof that every design requirement has been met.
Now change the scenario: the filter must return by gravity, and there is no elevated platform or suitable outlet route. Neither pressure-return comparison answers that new layout automatically. Architecture is part of sizing because equipment must function in its actual location.
Step 6: design the cleaning and service area
Allow room for lids, handles, media removal, valves, and lamp servicing. Include a route for cleaning waste and a way to inspect connections. Measure the usable service area, rather than only checking whether the filter body fits between two plants.
Think about who will do the maintenance. A heavy submerged unit may be awkward for someone who cannot safely retrieve it. A box hidden behind a fence may be difficult to inspect. A technically suitable filter can become an unsuitable ownership choice if servicing is impractical.
Identify where accidental overflow or a disconnected return would send water. Avoid a layout that could quietly empty the pond or direct water toward a building. Model-specific installation instructions should settle the final position and plumbing arrangement.
For a new pond, this is the easiest time to fix access. Once landscaping is finished, moving a filter or widening a service path can cost more than allowing adequate space during planning.
Step 7: confirm the selection in writing
Send the supplier or manufacturer a short, specific summary. Include pond volume and uncertainty, intended fish and feeding, expected flow at head, pump model, tubing dimensions, return elevation, and the exact filter variant you are considering.
Ask for confirmation of the applicable capacity category and the permitted operating conditions. If the reply only says “suitable for ponds up to X gallons,” follow up on the unresolved flow and stocking points. Keep the reply with the manual and purchase record.
Once those checks are complete, compare the shortlisted architectures in our best pond filters guide. The aim is a compatible system rather than a collection of individually impressive products.
Check the installation after it starts running
Verify that the pump, filter, and return operate as intended. Check hoses and connections for leaks, confirm pond level is stable, and inspect that the return is unobstructed. Initial operation is also an opportunity to compare actual flow with the planning estimate.
Where a safe, accessible discharge makes a timed measurement appropriate, GPH = measured US gallons × 3,600 ÷ elapsed seconds. Five gallons collected in 18 seconds correspond to 1,000 GPH. Do not detach pressurized hoses or alter unsafe plumbing to perform this test; use an appropriate meter or installer instead.
A clean-system flow check does not prove biological maturity. Record relevant water tests and follow startup guidance. Keep a note of normal flow and service intervals so later deterioration is easier to recognize.
If the flow changes, inspect the system before purchasing a larger pump. A clogged intake, dirty media, kinked hose, or modified return can alter the result. Restore the intended conditions and reassess the problem.
Common sizing mistakes
Using maximum depth everywhere. Estimate average water depth or calculate separate zones. A deep central pocket does not make the entire pond equally deep.
Ignoring the gallon system. Keep US gallons, imperial gallons, and liters explicit. Convert before comparing numbers from different regional pages.
Using a fish-free rating for a fish pond. Read the applicable stocking category and conditions. The largest capacity figure is not necessarily the relevant one.
Treating GPH as pond volume. Flow and volume are different quantities. A 2,000-GPH pump does not establish that a filter is suitable for a 2,000-gallon pond.
Choosing a pump from its maximum alone. Use its documented output at the expected head and assess each branch that receives water.
Assuming oversizing excuses poor design. A larger filter still needs suitable plumbing, circulation, maintenance, and biological startup.
Frequently asked questions
How much larger should my filter be than my pond?
There is no single reliable multiplier for all systems. Use the rating for the intended fish load and verify the full installation. When choosing between close options, consider growth and uncertainty with the manufacturer's advice.
Is the filter's maximum flow the flow I should aim for?
Not necessarily. It is a ceiling unless the manufacturer describes it differently. Use the documented operating guidance and check separate UV requirements.
Can two small filters replace one larger filter?
Only a considered system assessment can answer that. Parallel equipment creates flow-distribution and service questions, and two nominal capacities should not simply be added as though all conditions are identical.
Can the same filter serve a wildlife pond and a koi pond of equal size?
The equipment needs can differ substantially. A wildlife pond may not require manufactured filtration, while a koi pond requires deliberate waste and oxygen management. Equal water volume does not mean equal load.
Your final sizing checklist
Before ordering, you should be able to state the pond volume and units, the relevant fish-load category, the installed-flow estimate, the filter and UV limits, the return arrangement, and the service plan. You should also have resolved any conflicting regional or generation-specific specifications.
If one of those items is missing, fill that gap before selecting a model. A careful sizing record makes the purchase easier to defend, simplifies installation questions, and gives you useful information when the pond changes in the future.